SAP CAP: Working with eTags. Part 2
Following up on the previously published deep dive on SAP CAP: Working with eTags, I’d like to walk you through how eTags work in a real-world scenario—specifically on SAP BTP. This time, we’re going beyond localhost to simulate a more production-like setup. Let’s see how you can leverage eTags in a full-stack web application.
What do I need?
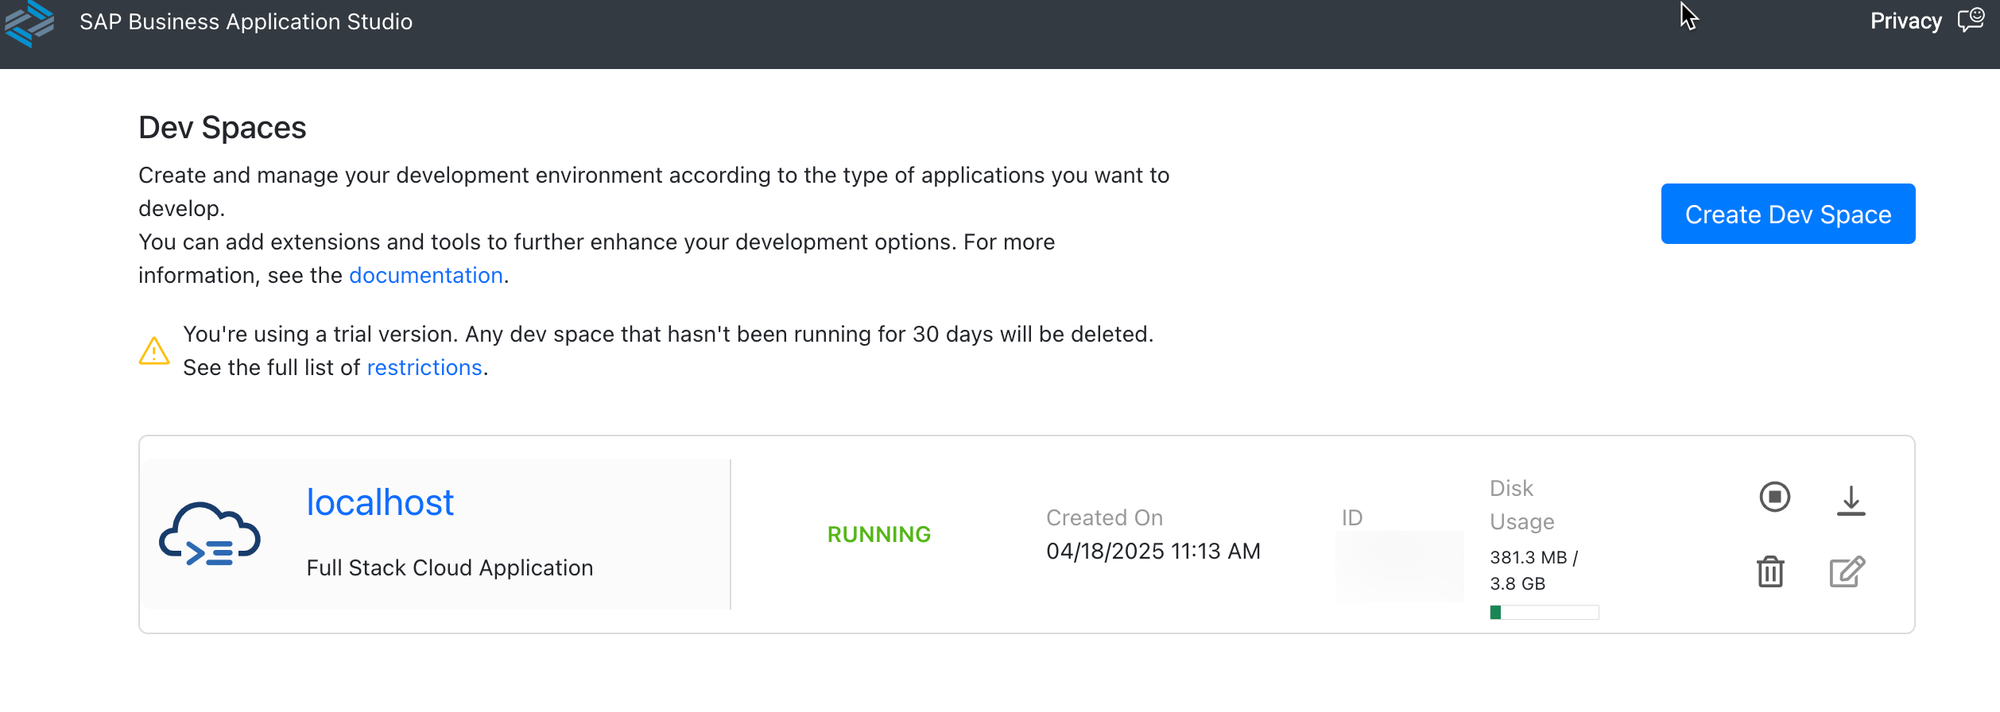
First, you’ll need a SAP BTP Trial account that provides access to the SAP Business Application Studio (BAS).
See Get an Account on SAP BTP Trial
See What Is SAP Business Application Studio?
I won’t dive into how to launch SAP BAS here—it’s pretty straightforward. For the steps that follow, make sure you’re working in a Full Stack Cloud Application development space.
Create a new CAP project
Once you log into the DEV space, you’ll see a web-based version of Visual Studio Code, a solid and free IDE for cloud development.
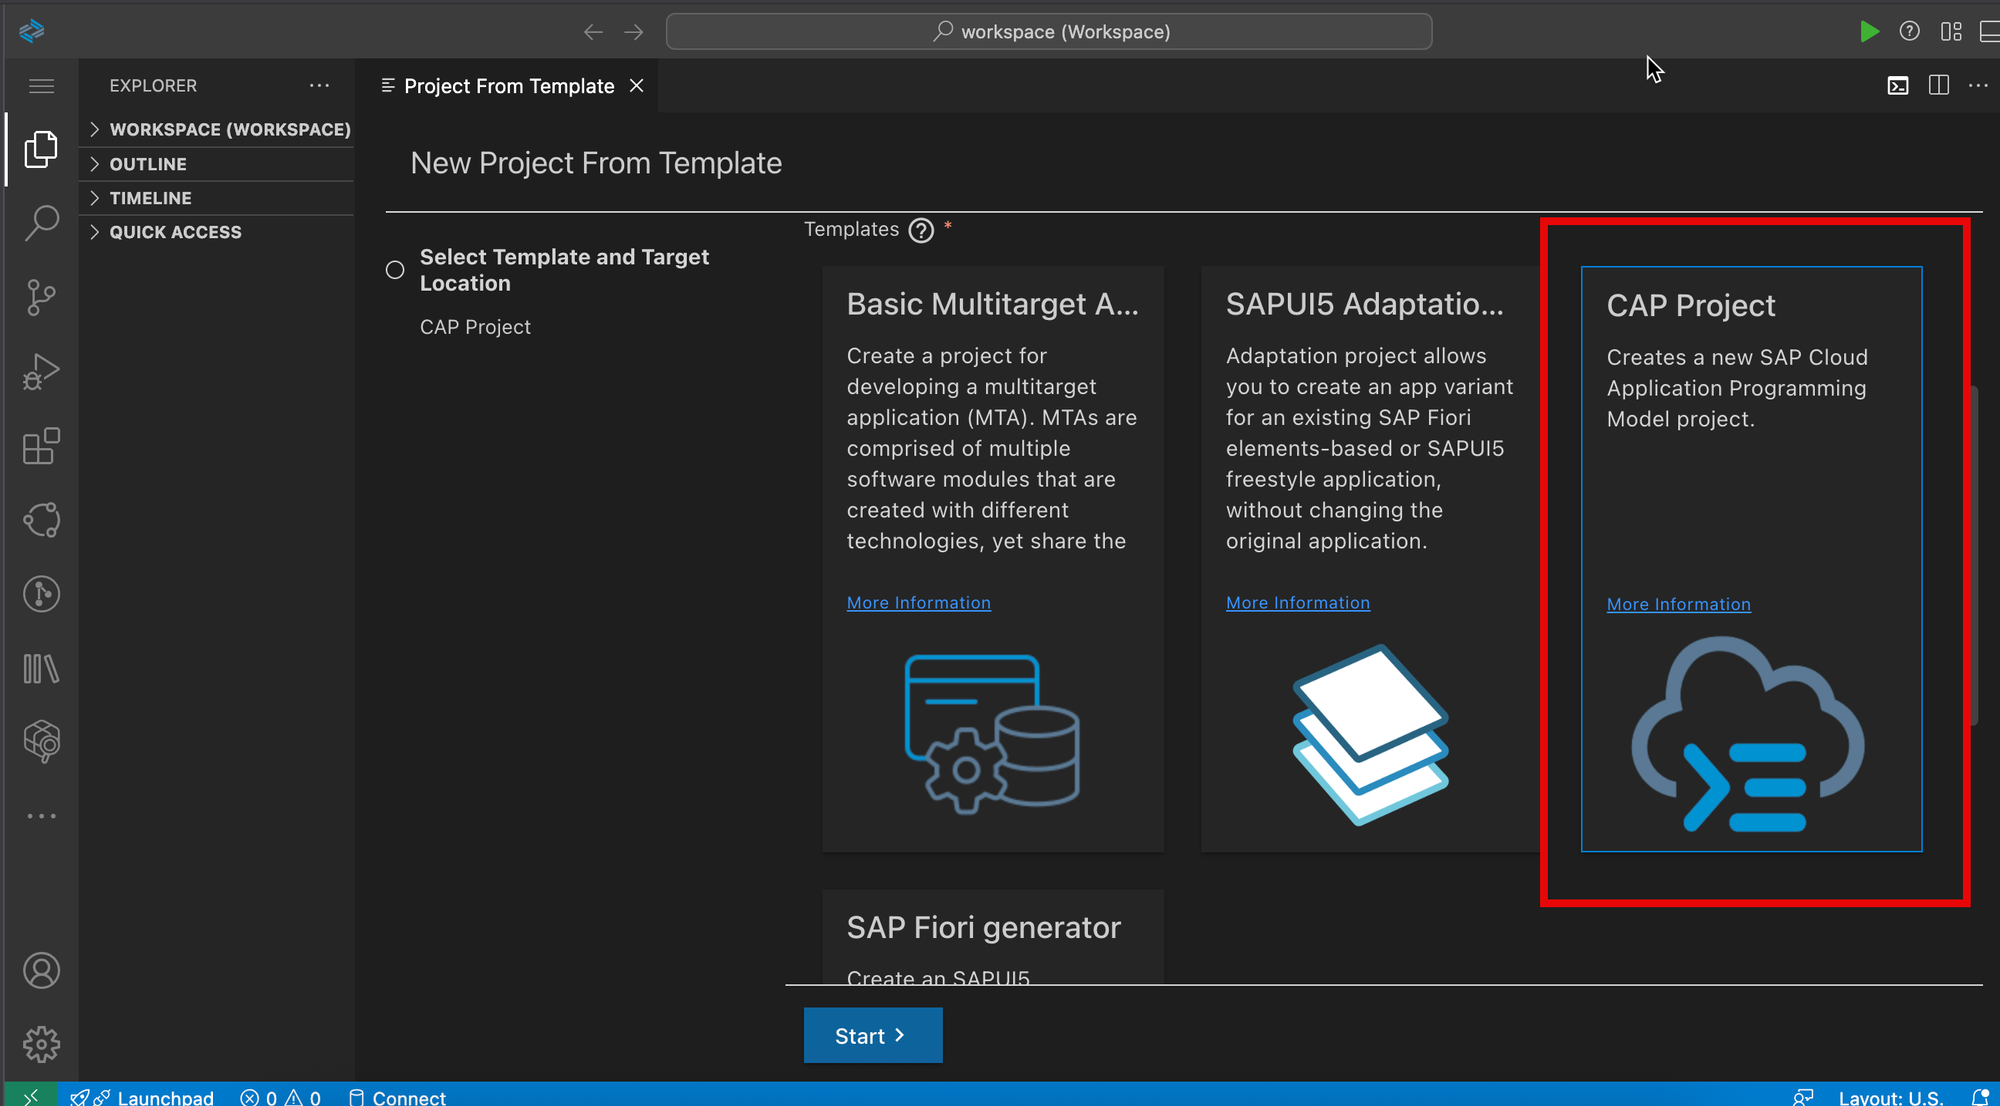
Select File -> New Project from Template:

Choose 'CAP Project'.
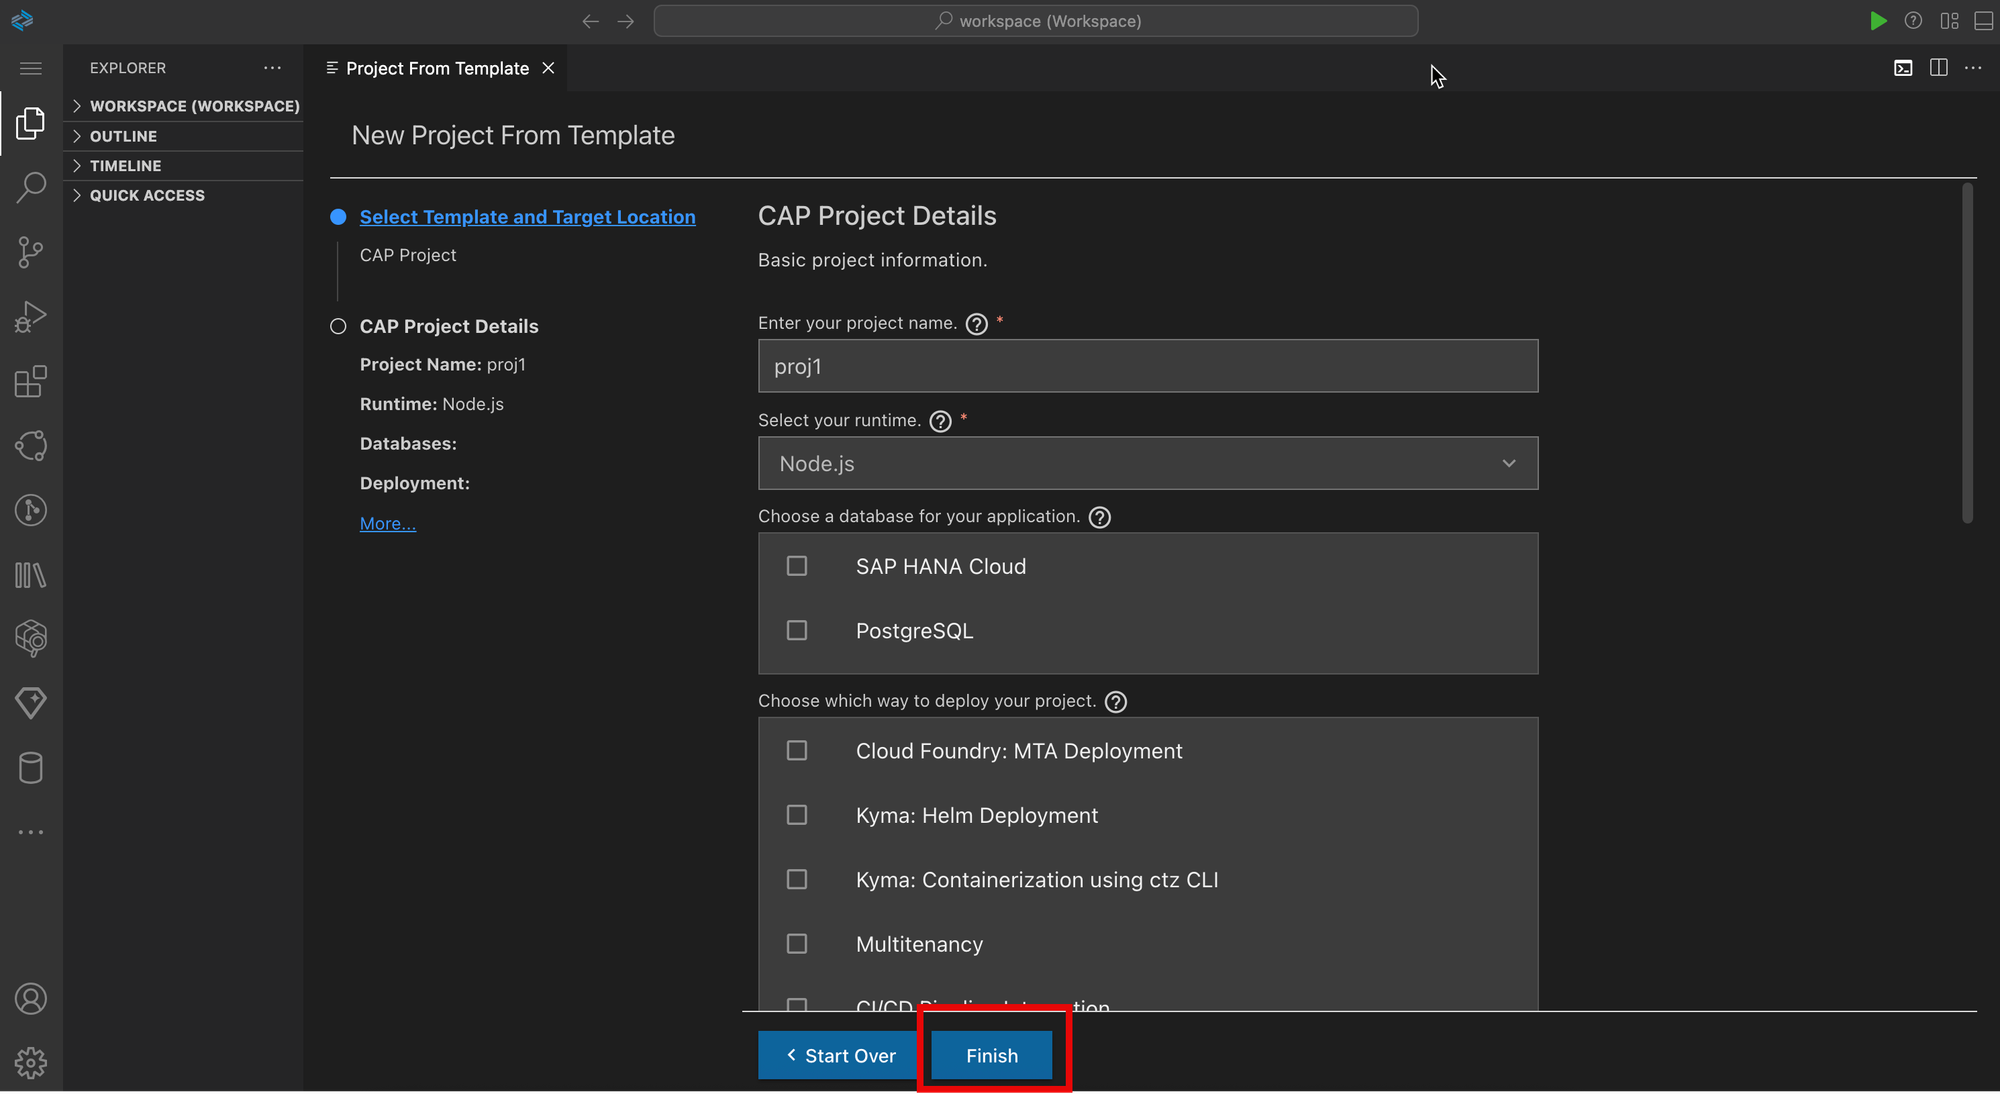
On the next screen, enter the required project details and click Finish.
For this example, I’ll be using the Node.js runtime.
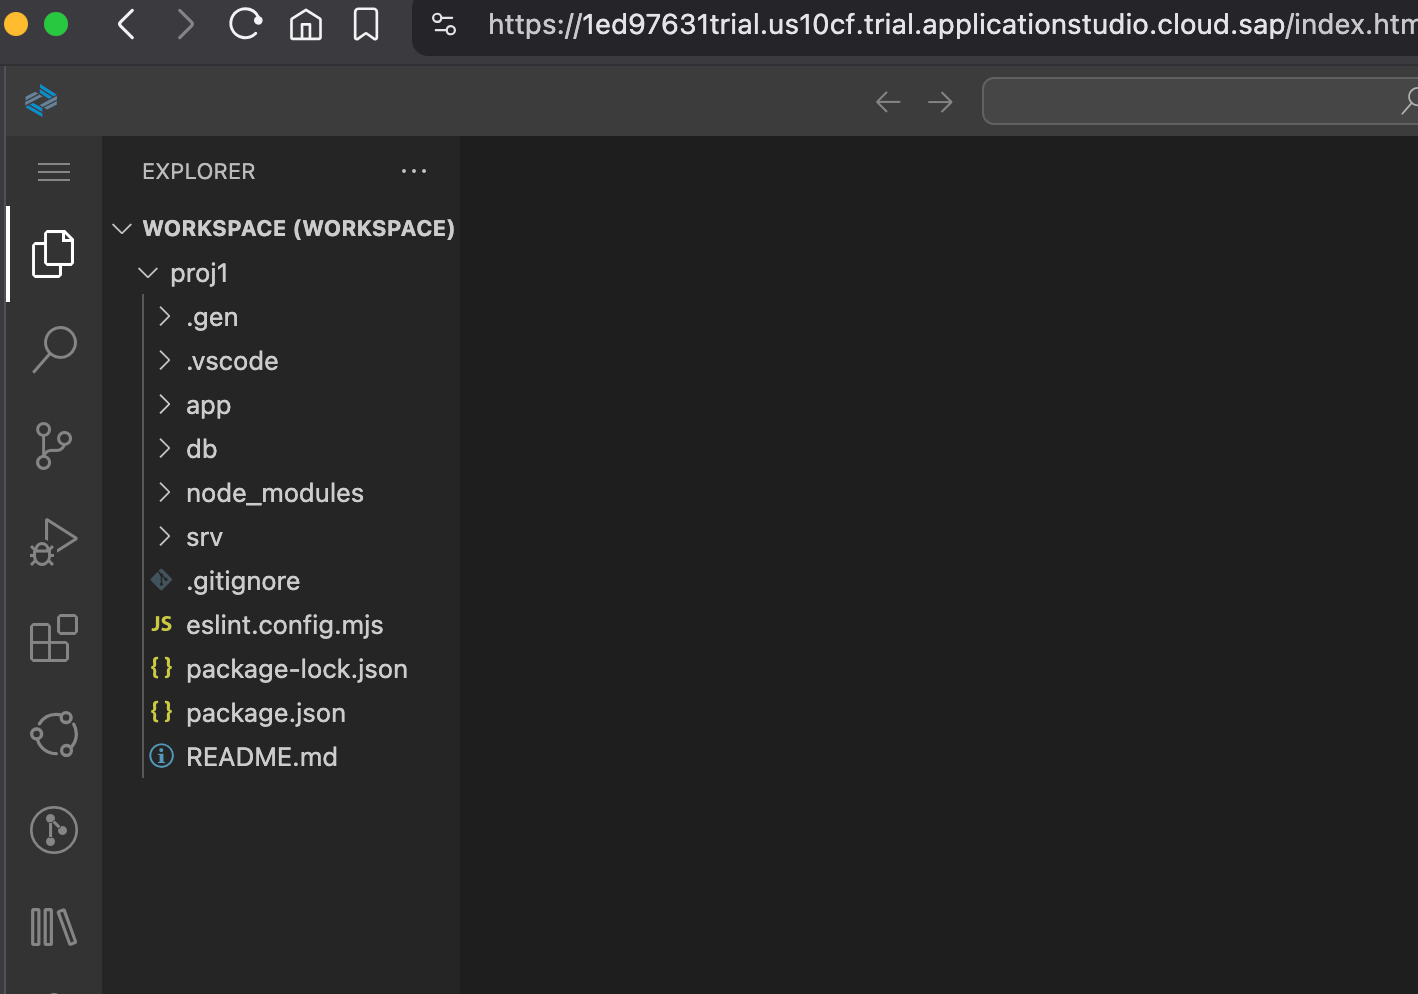
Once dependencies are installed, your development environment is ready to go.
Define the Domain Model and Service
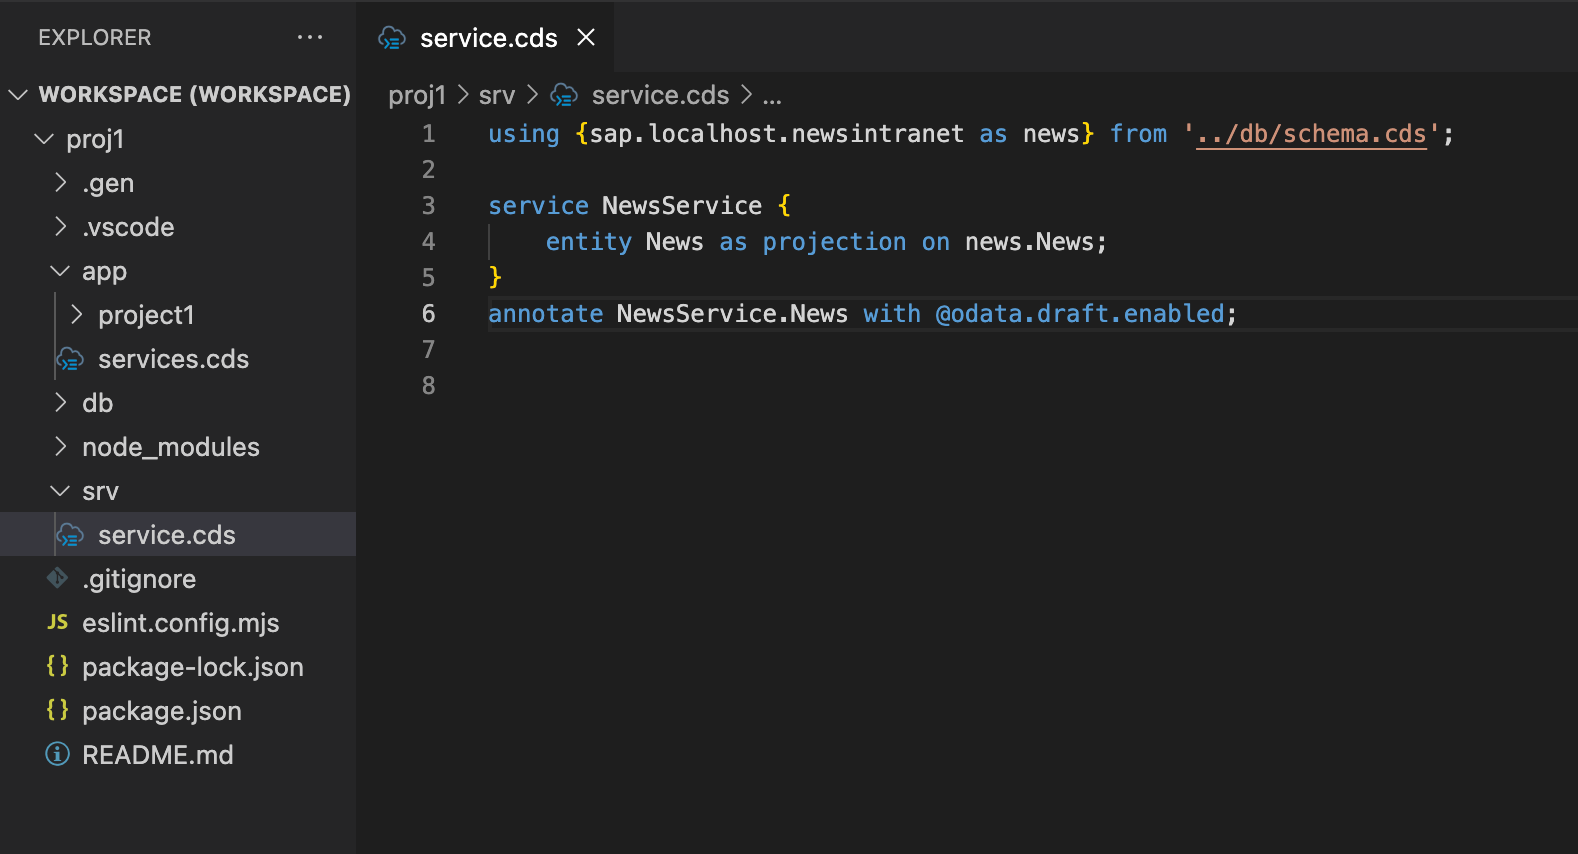
Repeat the steps described in the first SAP Note to define your schema.cds and service.cds files, including the @odata.etag annotation.
Once done, run the service and test its basic behavior.
Add Web Capabilities to Your Service
Now that we’re working in the BTP environment, let’s take advantage of built-in tools and generate a basic Fiori Elements app. Check out the following video where I walk through the process:
After generation, the newly created web application will be stored in the app/ folder.
Check eTag Behavior in the Web App
Now to the main point of this Note: validating the concurrency control via eTags.
Since we’ve implemented the @odata.etag annotation in the service, we can observe how the backend handles concurrent updates.
Try the following:
- Open the same entity record in two browser tabs in edit mode.
- Make a change in one tab and hit Save.
- Switch to the second tab and try to save the same record.
💥 An error message should appear, warning about a version conflict.
You can see the system’s response in the video clip below:
Final Thoughts
While this demo shows a very basic validation scenario, real-world projects would usually require more intelligent mechanisms to manage concurrent updates—such as locking, drafts and etc.
Still, I hope this walkthrough helps you kick-start your implementation of concurrency control with eTags in SAP CAP. Think of this as a foundation you can build upon with more sophisticated logic as needed.
As always, with a drop of love, yours sincerely, ignatov.